Upgrade YugabyteDB Anywhere
Replicated end of life
YugabyteDB Anywhere will end support for Replicated installation at the end of 2024. You can migrate existing Replicated YugabyteDB Anywhere installations using YBA Installer. See Migrate from Replicated.
To perform the migration, you must first upgrade your installation to v2.20.1.3 or later using Replicated.
If your installation was installed via Replicated, use Replicated to upgrade your YugabyteDB Anywhere to a newer version.
If you are upgrading a YugabyteDB Anywhere installation with high availability enabled, follow the instructions provided in Upgrade instances.
Upgrade using Replicated
To start the upgrade, log in to the Replicated Admin Console via https://:8800 and then perform the following:
-
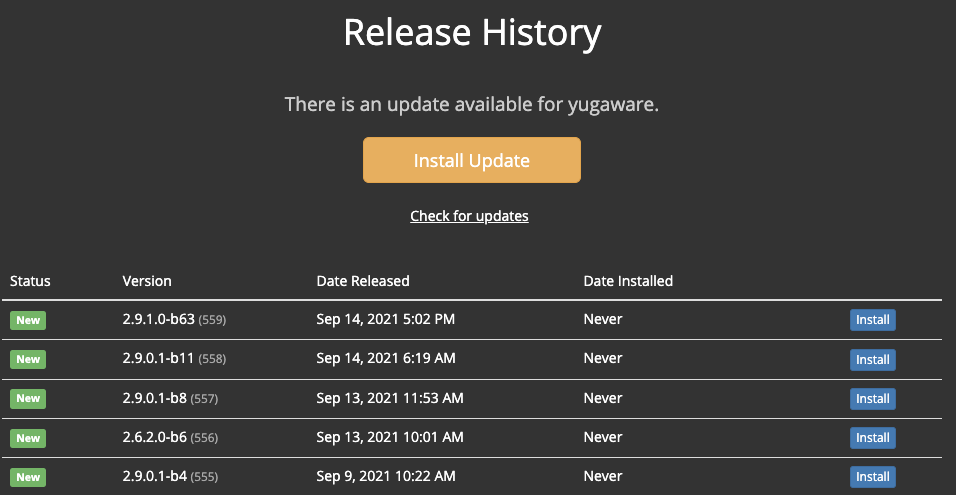
Navigate to Dashboard and click View release history to open Release History, as shown in the following illustration:

-
Find the required release version; if the required version is not in the list, click Check for updates to refresh the list of releases available in the channel to which you are subscribed.
-
Click the corresponding Install.
If the required release version is in a different channel (for example, you want to upgrade from 2.4.n release family to 2.6.n), start by updating the channel, as follows:
-
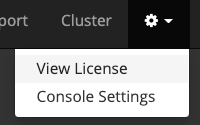
Click the gear icon and select View License, as per the following illustration:

-
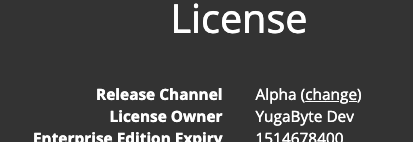
In the License view, click change for Release Channel, as per the following illustration:

Note that if you do not have permissions to access the new release channel, you should contact Yugabyte Support.
-
Click Sync License.
-
Navigate back to Release History, locate the release you need, and then click the corresponding Install.
If you are performing an upgrade to YugabyteDB Anywhere version 2.14 or later, the process can take some time depending on the amount of data present in YugabyteDB Anywhere.
If you have upgraded YugabyteDB Anywhere to version 2.12 or later and xCluster replication for your universe was set up via yb-admin instead of the UI, follow the instructions provided in Synchronize replication after upgrade.
Upgrade airgapped installation
You can upgrade your airgapped installation of YugabyteDB Anywhere to a newer version as follows:
-
Manually obtain and move the binary Replicated license file
<filename>.rlito the/home/{username}/directory. -
Manually obtain and move the YugabyteDB Anywhere airgapped package to the
/opt/yugabyte/releases/<new_version_dir>directory.For example, if you are upgrading to the latest YugabyteDB Anywhere stable version, you would start by executing the following command to obtain the package:
wget https://downloads.yugabyte.com/releases/2.19.3.0/yugaware-2.19.3.0-b140-linux-x86_64.airgapThen you would create the
/opt/yugabyte/releases/yugaware-2.19.3.0-b140/directory and move (or SCP) theyugaware-2.19.3.0-b140-linux-x86_64.airgapfile into that directory. -
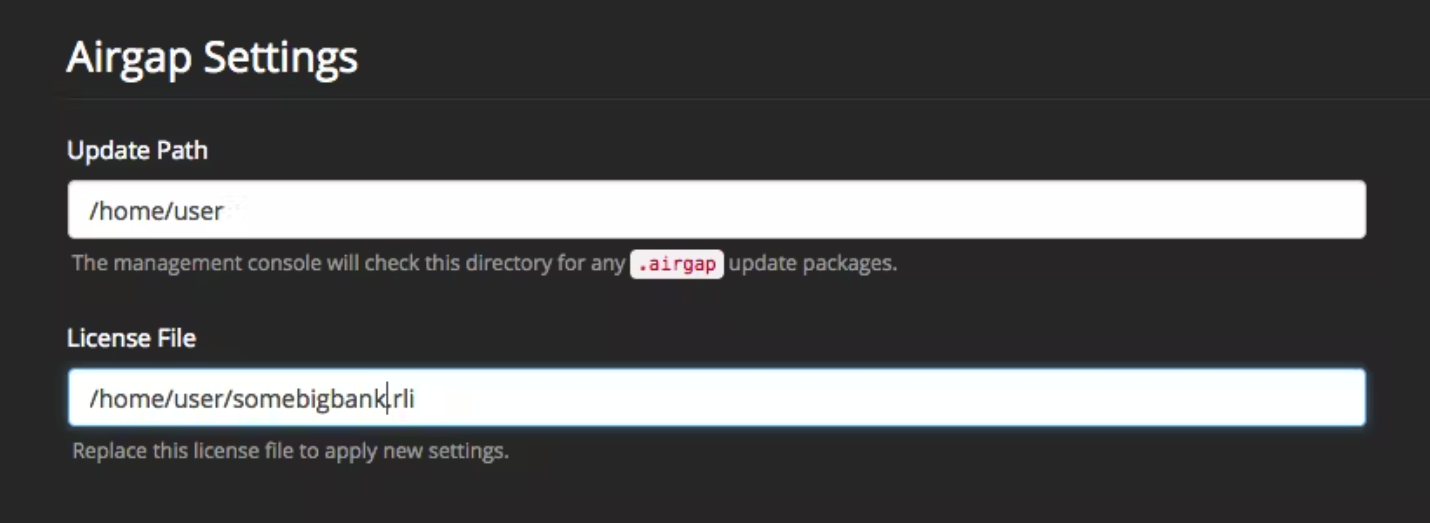
Log in to the Replicated Admin Console at https://:8800/ and navigate to Settings to load the new license file, as per the following illustration:

Change the two directories to match the ones you used. For example, enter
/opt/yugabyte/releases/yugaware-2.19.3.0-b140/in the Update Path field and/home/{user}/in the License File field.Replicated detects updates based on the updated path information and applies them in the same way it does for connected YugabyteDB Anywhere installations.
-
Proceed with the YugabyteDB Anywhere upgrade process by following instructions provided in Upgrade using Replicated.
-
Upgrade your YugabyteDB universe by following instructions provided in Upgrade the YugabyteDB software.