Manually provision on-premises nodes
Use the following procedure to manually provision nodes for your YugabyteDB Anywhere (YBA) on-premises provider configuration:
- Your SSH user has sudo privileges that require a password - Assisted manual.
- Your SSH user does not have sudo privileges at all - Fully manual.
If the SSH user configured in the on-premises provider has sudo privileges that require a password, you can provision your nodes by running the pre-provisioning script (provision_instance.py).
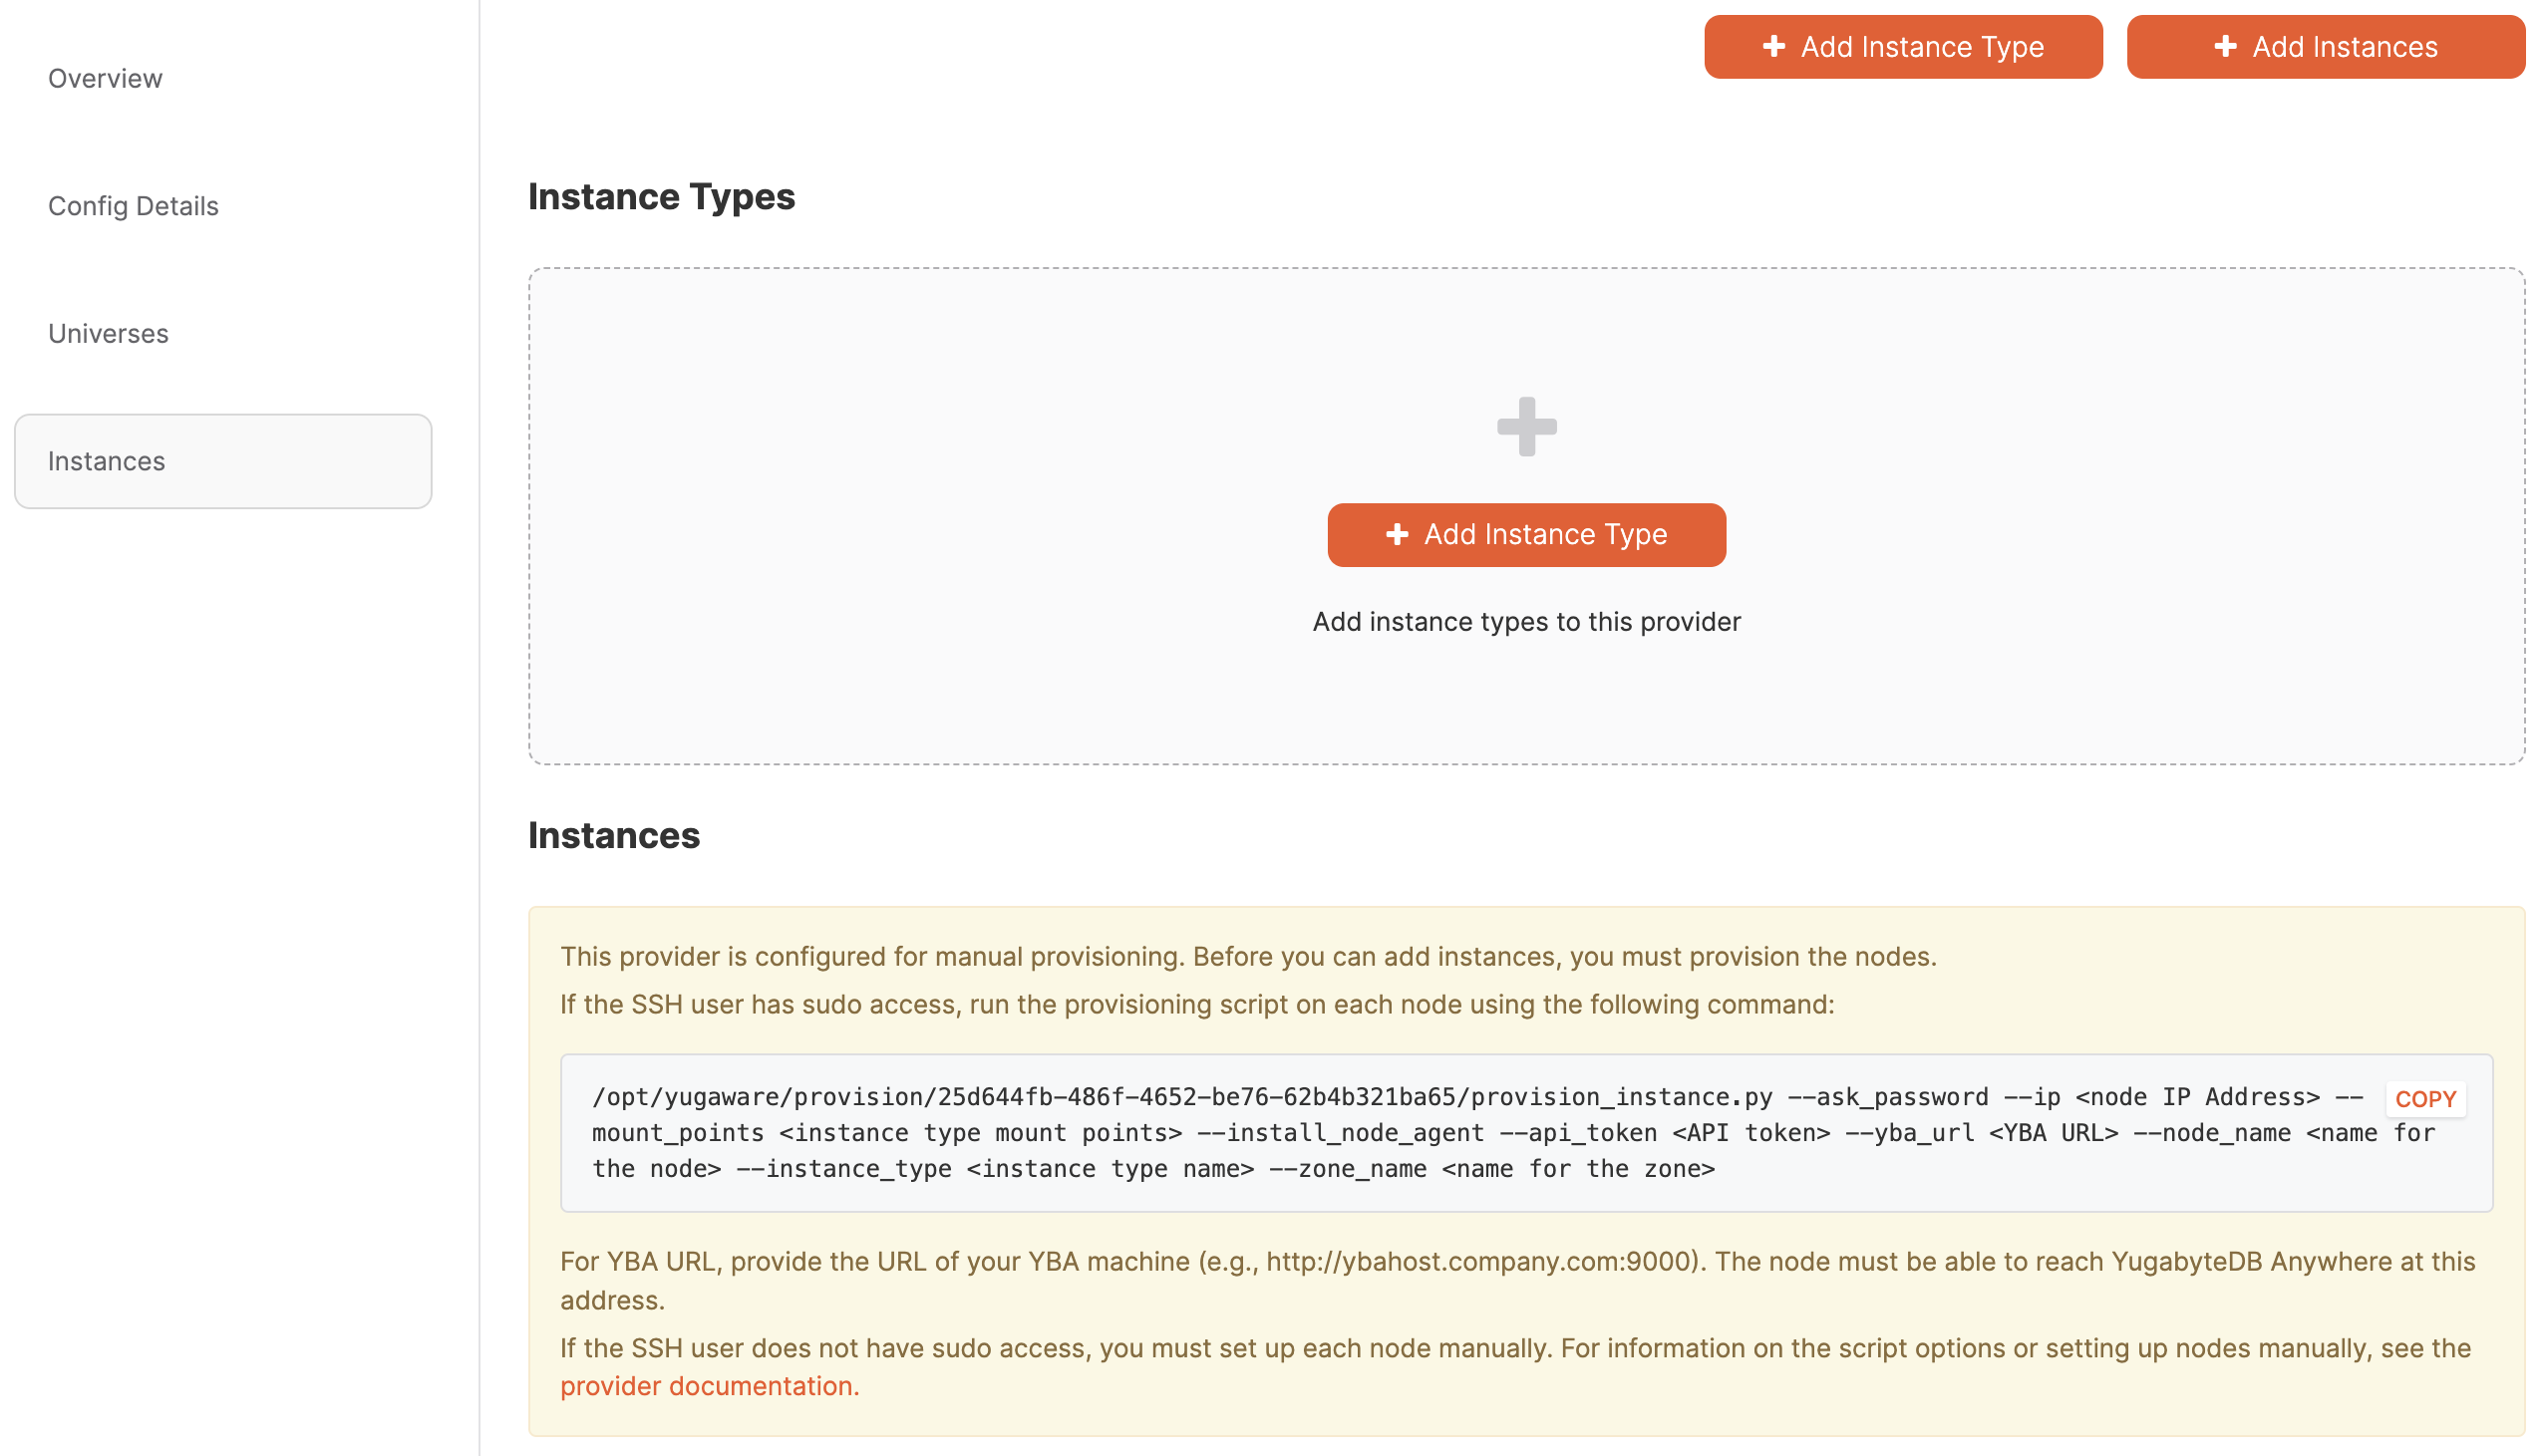
The script is displayed under Instances on the Instances tab of the on-prem configuration you created.
Note
If the SSH user does not have any sudo privileges at all, you can't use the script and need to perform a fully manual setup.Manually provision nodes using the script
You can manually provision each node using the pre-provisioning Python script, as follows:
-
Log in to the YBA virtual machine via SSH.
-
If you installed YBA using Replicated, access the Docker
yugawarecontainer, as follows:sudo docker exec -it yugaware bash -
In YBA, navigate to Configs > Infrastructure > On-Premises Datacenters, select the on-prem configuration you created, and choose Instances.

-
Copy and paste the Python script command under Instances.
Set the flags for the command as follows:
--ask_password- this flag instructs the script to prompt for a password, which is required if the sudo user requires password authentication.--ip- enter the IP address of the node.--mount_points- enter the mount point configured for the node (typically/data). If you have multiple drives, add these as a comma-separated list, such as, for example,/mnt/d0,/mnt/d1.--install_node_agent- this flag instructs the script to install the node agent, which is required for YBA to communicate with the instance.--api_token- enter your API token; you can create an API token by navigating to your User Profile and clicking Generate Key.--yba_url- enter the URL of the machine where you are running YBA, with port 9000. For example,http://ybahost.company.com:9000. The node must be able to communicate with YBA at this address.--node_name- enter a name for the node.--instance_type- enter the name of the instance type to use for the node. The name must match the name of an existing instance type.--zone_name- enter a zone name for the node.
For example:
/opt/yugabyte/yugaware/data/provision/9cf26f3b-4c7c-451a-880d-593f2f76efce/provision_instance.py \
    --ask_password \
    --ip 10.9.116.65 \
    --mount_points /data \
    --install_node_agent \
    --api_token 999bc9db-ddfb-9fec-a33d-4f8f9fd88db7 \
    --yba_url http://10.98.0.40:9000 \
    --node_name onprem_node1 \
    --instance_type c5.large \
    --zone_name us-west-2a
Expect the following output and password prompt:
Executing provision now for instance with IP 10.9.116.65... SUDO password: -
Enter your password.
-
Wait for the script to finish successfully.
-
Repeat steps 4-6 for every node that will participate in the on-prem configuration.
After you have provisioned the nodes, you can proceed to add instances to the on-prem provider.