Chapter 3: Tolerating outages with YugabyteDB
YugaPlus - Weathering Storms in the Cloud
One busy evening, the YugaPlus team was caught off-guard by a service outage. The streaming platform had gone down, and customers started voicing their frustrations on social media. In minutes, the team pinpointed that there was a major incident in a cloud region that hosted their database instance. The YugabyteDB cluster was deployed across three availability zones of the region, but that was not enough this time. The whole region was down disrupting the availability of the database and entire streaming platform.
Eventually, four hours later the cloud provider restored the failed region and the YugaPlus streaming platform was live again. After this incident the YugaPlus team decided to migrate to a multi-region architecture that would help them to tolerate all sorts of possible outages in the future...
In this chapter, you'll learn how to do the following:
- Set up and start a YugabyteDB cluster that spans multiple regions.
- Work with the YugabyteDB smart driver to route requests automatically and handle failovers.
Prerequisites
You need to complete Chapter 2 of the tutorial before proceeding to this one.
Simulate an outage
Right now, your YugaPlus movie recommendation service runs on a 3-node YugabyteDB cluster. This setup, with a replication factor of 3 (RF=3), means you can have one database node go down with no disruption to your application workload.
To see how this works, let's simulate an outage by stopping the first database node (yugabytedb-node1):
-
Connect to
yugabytedb-node1and get the total number of movies in the database:docker exec -it yugabytedb-node1 bin/ysqlsh -h yugabytedb-node1 \ -c 'select count(*) from movie'count ------- 2835 (1 row) -
Stop the node and remove its container:
docker stop yugabytedb-node1 docker rm yugabytedb-node1 -
Query the total number of movies one more time by sending the same request but to the second node (
yugabytedb-node2)docker exec -it yugabytedb-node2 bin/ysqlsh -h yugabytedb-node2 \ -c 'select count(*) from movie'The output will be the same:
count ------- 2835 (1 row) -
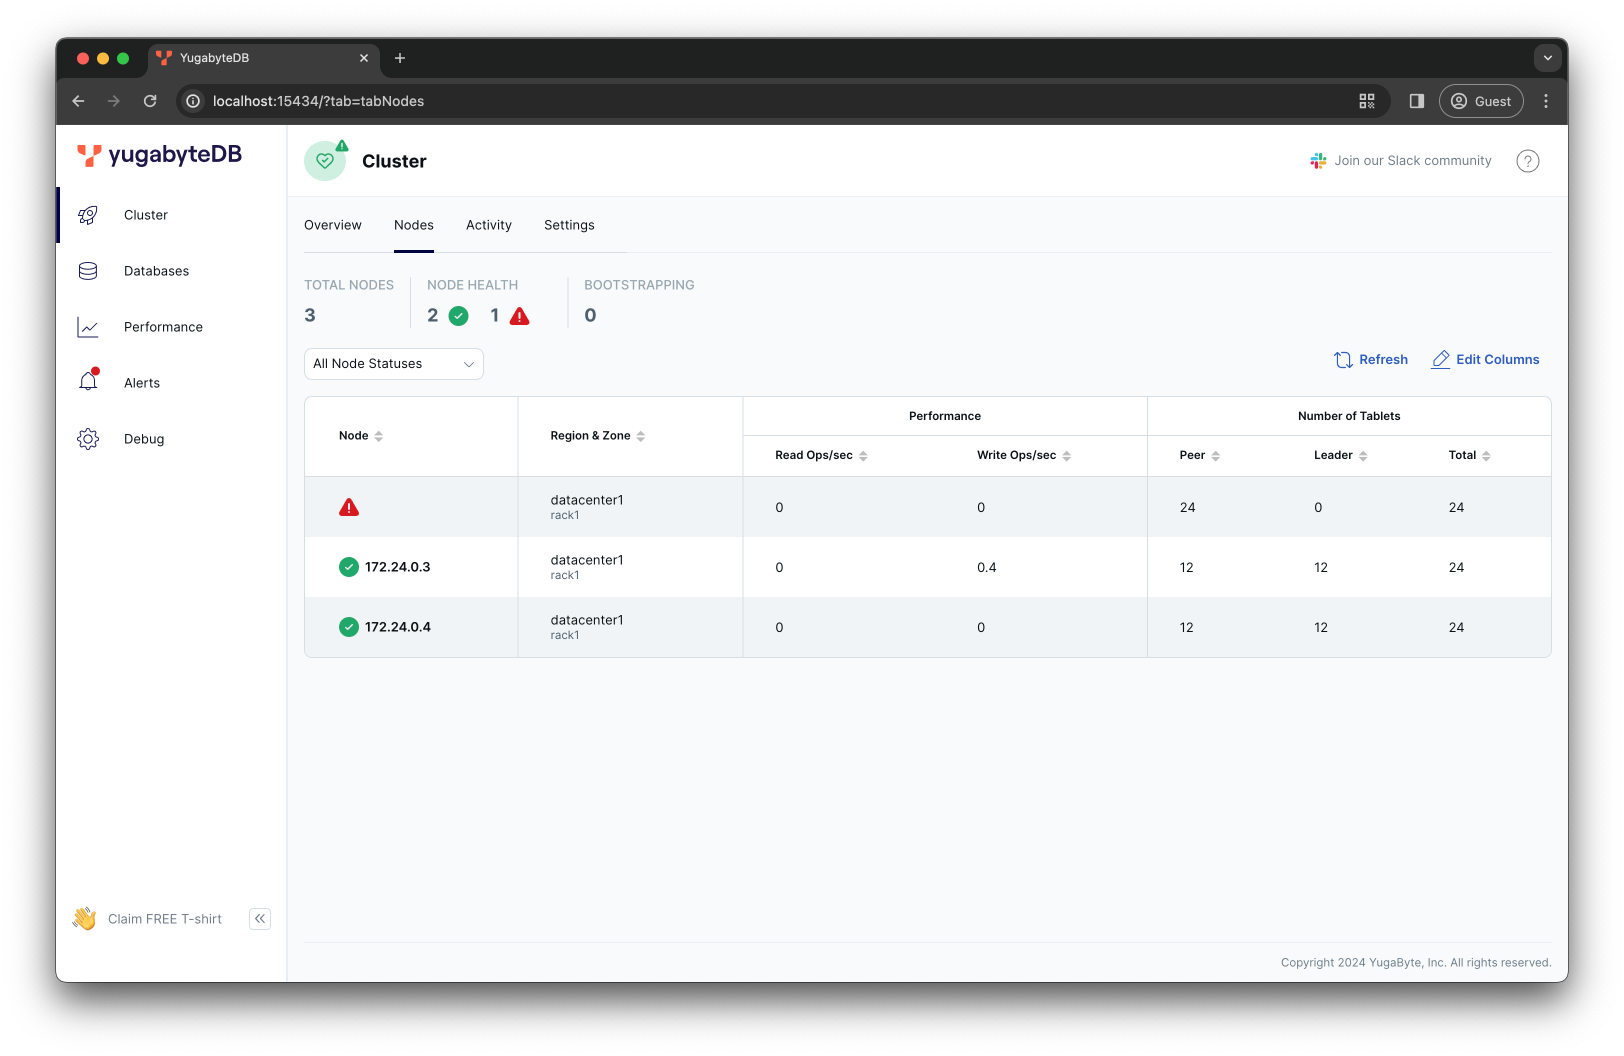
Open the second node's monitoring UI that listens on port
15434on your host operating system: http://localhost:15434/?tab=tabNodes
Despite the first node being unavailable, the cluster is still running. The other two nodes have all the necessary data to keep the application running smoothly.
YugabyteDB RTO and RPO
With YugabyteDB, your recovery time objective (RTO) is measured in seconds with recovery point objective (RPO) equal to 0 (no data loss).
Usually, the RTO is in the range of 3 to 15 seconds. It depends on the latency between availability zones, regions, and data centers where you deploy YugabyteDB nodes.
However, the YugaPlus backend was not prepared for this outage. The backend relied on the PostgreSQL JDBC driver to connect to the first node (yugabytedb-node1) that served as a proxy for all application requests:
DB_URL=jdbc:postgresql://yugabytedb-node1:5433/yugabyte
To confirm that the application is no longer working, open the YugaPlus frontend UI and try searching for movie recommendations. You'll see the following error in the backend's container logs:
Caused by: org.postgresql.util.PSQLException: The connection attempt failed.
at org.postgresql.core.v3.ConnectionFactoryImpl.openConnectionImpl(ConnectionFactoryImpl.java:354) ~[postgresql-42.6.0.jar!/:42.6.0]
at org.postgresql.core.ConnectionFactory.openConnection(ConnectionFactory.java:54) ~[postgresql-42.6.0.jar!/:42.6.0]
at org.postgresql.jdbc.PgConnection.<init>(PgConnection.java:263) ~[postgresql-42.6.0.jar!/:42.6.0]
at org.postgresql.Driver.makeConnection(Driver.java:443) ~[postgresql-42.6.0.jar!/:42.6.0]
at org.postgresql.Driver.connect(Driver.java:297) ~[postgresql-42.6.0.jar!/:42.6.0]
at com.zaxxer.hikari.util.DriverDataSource.getConnection(DriverDataSource.java:138) ~[HikariCP-5.0.1.jar!/:na]
at com.zaxxer.hikari.pool.PoolBase.newConnection(PoolBase.java:359) ~[HikariCP-5.0.1.jar!/:na]
...truncated
... 1 common frames omitted
Caused by: java.net.UnknownHostException: yugabytedb-node1
at java.base/sun.nio.ch.NioSocketImpl.connect(NioSocketImpl.java:567) ~[na:na]
at java.base/java.net.SocksSocketImpl.connect(SocksSocketImpl.java:327) ~[na:na]
at java.base/java.net.Socket.connect(Socket.java:751) ~[na:na]
at org.postgresql.core.PGStream.createSocket(PGStream.java:243) ~[postgresql-42.6.0.jar!/:42.6.0]
at org.postgresql.core.PGStream.<init>(PGStream.java:98) ~[postgresql-42.6.0.jar!/:42.6.0]
at org.postgresql.core.v3.ConnectionFactoryImpl.tryConnect(ConnectionFactoryImpl.java:132) ~[postgresql-42.6.0.jar!/:42.6.0]
at org.postgresql.core.v3.ConnectionFactoryImpl.openConnectionImpl(ConnectionFactoryImpl.java:258) ~[postgresql-42.6.0.jar!/:42.6.0]
... 14 common frames omitted
The backend still tries to connect to the stopped node; it doesn't know how to fall back to the remaining nodes that can continue serving the application's requests.
The PostgreSQL JDBC driver allows the specification of multiple database connection endpoints that can be used for fault tolerance and load balancing. However, the list of these connection endpoints is static, meaning that you would need to restart the application whenever you add or remove nodes from the YugabyteDB cluster.
Next, you will learn how to tolerate major outages by deploying the database across multiple regions and using the YugabyteDB JDBC smart driver on the application end.
Deploy a multi-region cluster
YugabyteDB provides high availability (HA) by replicating data across various fault domains. A fault domain can be a server rack, an availability zone, a data center, or a cloud region.
With a replication factor of 3 and considering the region as a fault domain, you should select three cloud regions and deploy at least one YugabyteDB node in each region. This configuration enables you to withstand region-level outages.
Before deploying a multi-region YugabyteDB cluster, ensure to remove any existing containers.
-
Remove the remaining two YugabyteDB nodes:
docker stop yugabytedb-node2 docker rm yugabytedb-node2 docker stop yugabytedb-node3 docker rm yugabytedb-node3 -
Recreate the directory that serves as a volume for the YugabyteDB nodes:
rm -r ~/yugabyte-volume mkdir ~/yugabyte-volume -
Use
Ctrl+Cor{yugaplus-project-dir}/docker-compose stopto stop the YugaPlus application containers.
The yugabyted tool lets you deploy and configure multi-region YugabyteDB clusters on your local machine. This is useful for emulating a multi-region cluster configuration locally for development and testing.
Use yugabyted to deploy a YugabyteDB cluster across US East, Central, and West locations in Google Cloud (GCP):
-
Start the first node assigning it to the US East region in GCP:
docker run -d --name yugabytedb-node1 --net yugaplus-network \
    -p 15433:15433 -p 5433:5433 \
    -v ~/yugabyte-volume/node1:/home/yugabyte/yb_data --restart unless-stopped \
    yugabytedb/yugabyte:latest \
    bin/yugabyted start --base_dir=/home/yugabyte/yb_data --background=false \
        --cloud_location=gcp.us-east1.us-east1-a \
        --fault_tolerance=region
The format for the
--cloud_locationparameter iscloud_name.region_name.zone_name. You can specify any cloud, region, or zone name to align with your real production deployment. -
Wait for the first node to finish the initialization and start two more nodes in the US West and Central locations respectively:
while ! docker exec -it yugabytedb-node1 postgres/bin/pg_isready -U yugabyte -h yugabytedb-node1; do sleep 1; done docker run -d --name yugabytedb-node2 --net yugaplus-network \ -p 15434:15433 -p 5434:5433 \ -v ~/yugabyte-volume/node2:/home/yugabyte/yb_data --restart unless-stopped \ yugabytedb/yugabyte:latest \ bin/yugabyted start --join=yugabytedb-node1 --base_dir=/home/yugabyte/yb_data --background=false \ --cloud_location=gcp.us-central1.us-central1-a \ --fault_tolerance=region docker run -d --name yugabytedb-node3 --net yugaplus-network \ -p 15435:15433 -p 5435:5433 \ -v ~/yugabyte-volume/node3:/home/yugabyte/yb_data --restart unless-stopped \ yugabytedb/yugabyte:latest \ bin/yugabyted start --join=yugabytedb-node1 --base_dir=/home/yugabyte/yb_data --background=false \ --cloud_location=gcp.us-west2.us-west2-a \ --fault_tolerance=region -
Configure the data placement constraint of the cluster:
docker exec -it yugabytedb-node1 \
    bin/yugabyted configure data_placement --fault_tolerance=region --base_dir=/home/yugabyte/yb_data
+---------------------------------------------------------------------------------------------------+ | yugabyted | +---------------------------------------------------------------------------------------------------+ | Status : Configuration successful. Primary data placement is geo-redundant. | | Fault Tolerance : Primary Cluster can survive at most any 1 region failure. | +---------------------------------------------------------------------------------------------------+ -
Confirm that the nodes discovered each other and formed a single multi-region cluster:
docker exec -it yugabytedb-node1 bin/ysqlsh -h yugabytedb-node1 \
    -c 'select * from yb_servers()'
host | port | num_connections | node_type | cloud | region | zone | public_ip | uuid -----------+------+-----------------+-----------+-------+-------------+---------------+------------+---------------------------------- 172.24.0.4 | 5433 | 0 | primary | gcp | us-west2 | us-west2-a | 172.24.0.4 | 576dbb555c414fa086da1bb4941b5b6f 172.24.0.3 | 5433 | 0 | primary | gcp | us-central1 | us-central1-a | 172.24.0.3 | 27fe17f1876d4ba0ad4891f32f1f50a0 172.24.0.2 | 5433 | 0 | primary | gcp | us-east1 | us-east1-a | 172.24.0.2 | 068f168d2cc34513bceddd4cbab90c9f (3 rows)
In a real cloud environment, the distance between chosen cloud regions will have an impact on the overall application latency. With YugabyteDB, you can minimize cross-region requests by defining a preferred region. This configuration ensures all tablet leaders reside in the preferred region, providing low-latency reads for users near the region and predictable latency for those further away.
Complete the multi-region cluster configuration by setting the US East region as the preferred one.
docker exec -it yugabytedb-node1 bin/yb-admin \
    -master_addresses yugabytedb-node1:7100,yugabytedb-node2:7100,yugabytedb-node3:7100 \
    set_preferred_zones gcp.us-east1.us-east1-a:1 gcp.us-central1.us-central1-a:2 gcp.us-west2.us-west2-a:3
The set_preferred_zones command allows defining a preferred region/zone using a priority-based approach. The US East region is the preferred one because its priority is set to 1. If that region becomes unavailable, then the US Central region becomes the next preferred one, provided its priority is set to 2.
Design Patterns for Global Applications
There is no one-size-fits-all solution for multi-region deployments, whether with YugabyteDB or any other distributed database. However, you can choose from several design patterns for global applications and configure your database to best suit your multi-region application workloads.
Up to this point, you have deployed a multi-region cluster following the global database with the preferred region pattern.
Switch to YugabyteDB smart driver
The YugabyteDB smart drivers extend the capabilities of standard PostgreSQL drivers by simplifying load balancing of application requests and automatically handling various failures at the application layer.
The YugaPlus movies recommendation service, written in Java, already includes the JDBC smart driver as a dependency in its pom.xml file.
<dependency>
    <groupId>com.yugabyte</groupId>
    <artifactId>jdbc-yugabytedb</artifactId>
    <version>42.3.5-yb-4</version>
</dependency>
Bring back the application using the smart driver:
-
Open the
{yugaplus-project-dir}/docker-compose.yamlfile and update the following settings:- DB_URL=jdbc:yugabytedb://yugabytedb-node1:5433/yugabyte?load-balance=true - DB_DRIVER_CLASS_NAME=com.yugabyte.DriverThe following has changed:
- The
DB_URLparameter now uses thejdbc:yugabytedb:...schema insteadjdbc:postgresql:.... This is necessary to get the smart driver loaded and used at runtime. - The
DB_DRIVER_CLASS_NAMEspecifies the name of the smart driver's class.
- The
-
Start the application:
docker-compose up
After the backend container is started, it will use Flyway again to apply the movie recommendations service's schema and data.
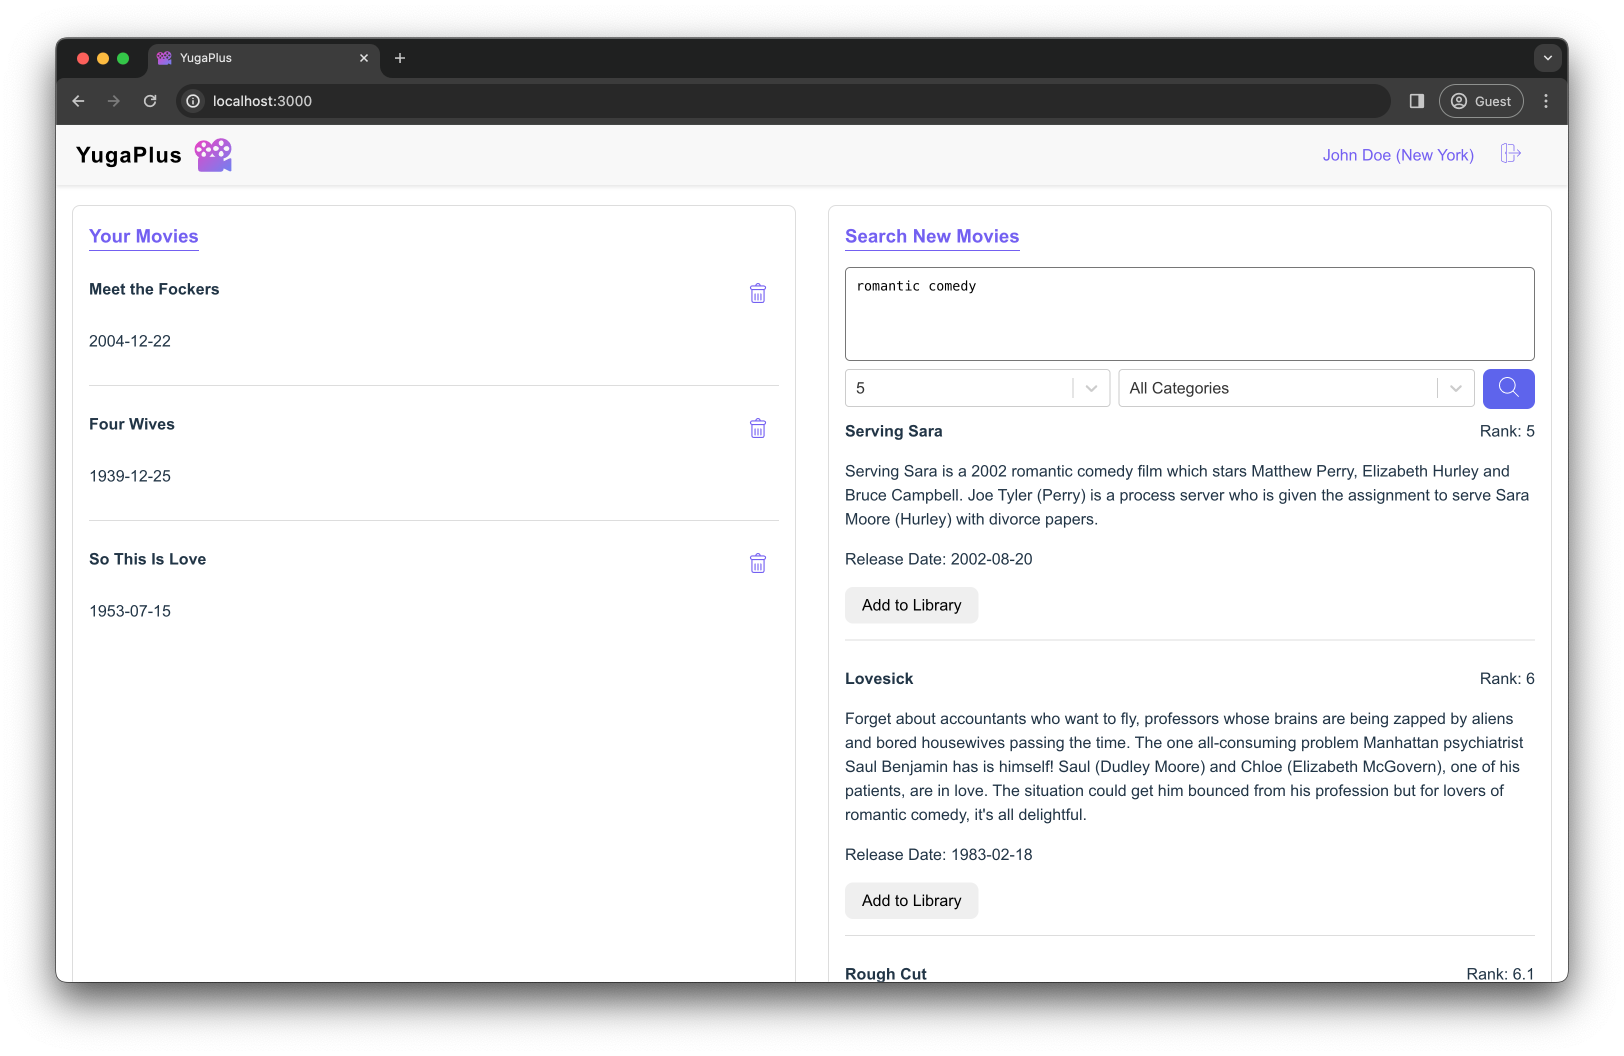
After the data loading is complete, open the YugaPlus UI and search for a new movie to watch.
Select the Comedy genre and ask for movie suggestions:
romantic comedy

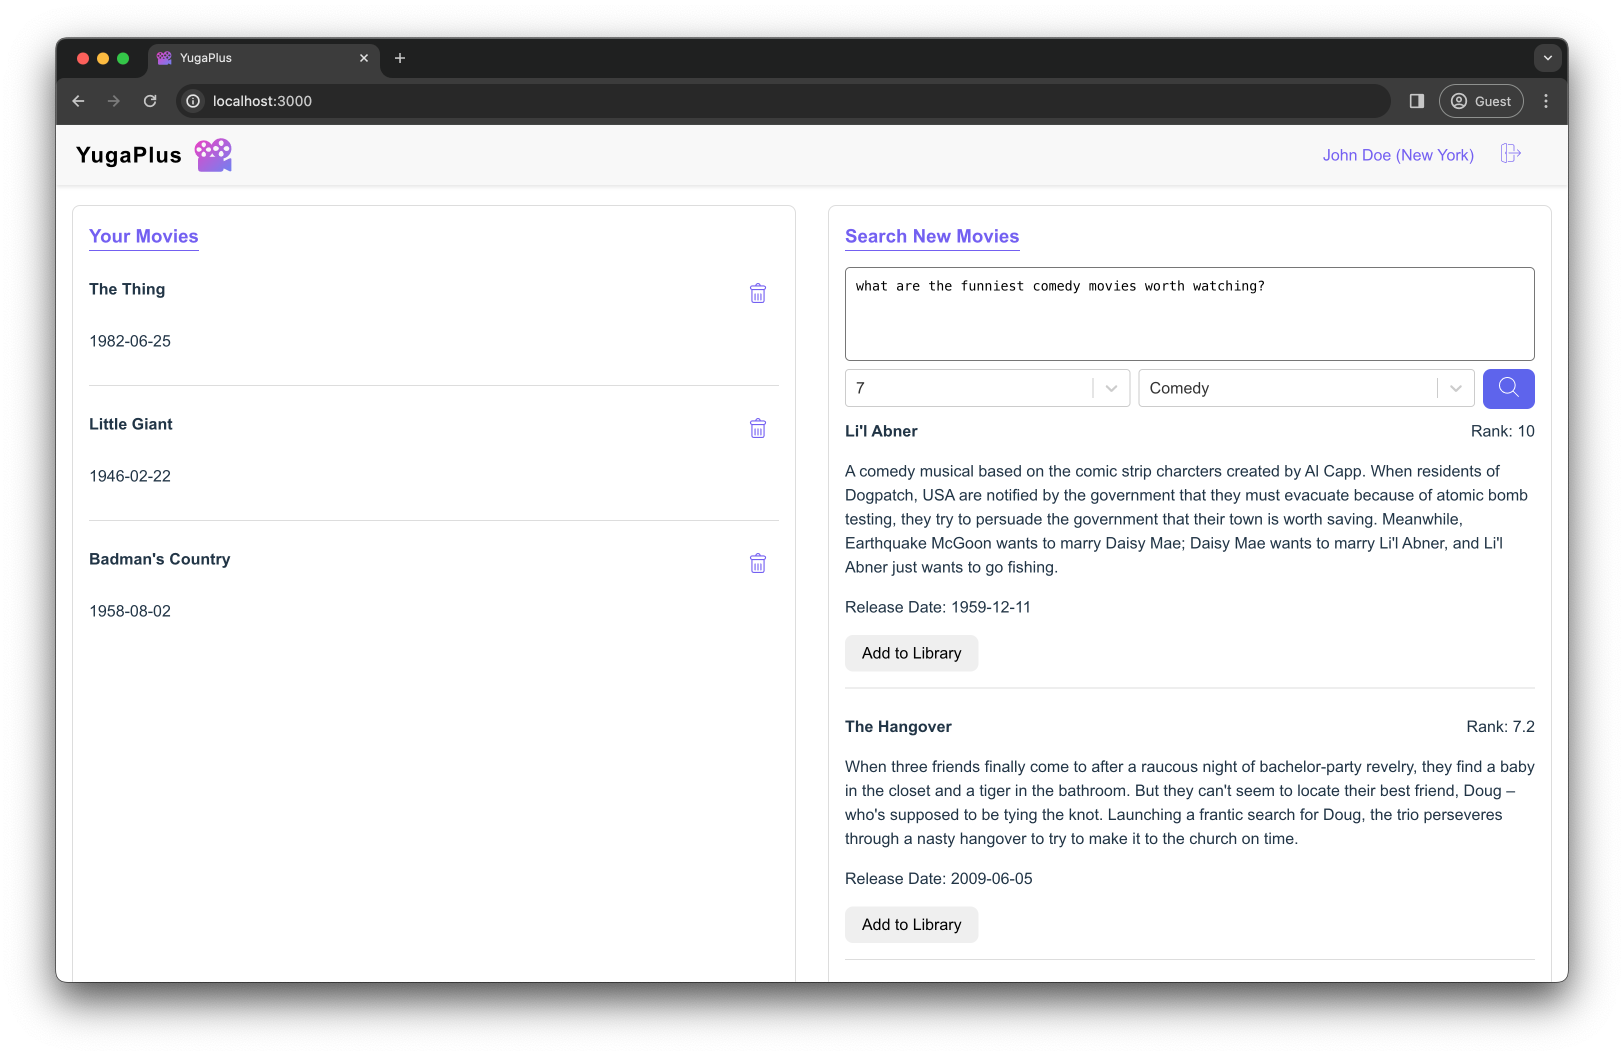
Set the rank to 7, select the Comedy genre and ask the following question:
What are the funniest comedy movies worth watching?

Simulate a region-level outage
The YugaPlus backend connects to the database cluster similarly to the PostgreSQL driver by using the first node as a connection endpoint: DB_URL=jdbc:yugabytedb://yugabytedb-node1:5433/yugabyte?load-balance=true.
However, this time, once the smart driver establishes a connection with the database, it automatically discovers the addresses of other database nodes. The driver then uses these addresses to load balance requests across all the nodes and to reopen connections if any database node fails. To enable this functionality, you included the load-balance=true parameter in the DB_URL connection endpoint.
Now, imagine there's a major outage in the US East region, making the region unavailable and resulting in the loss of the database node in that region.
-
Simulate the outage by killing the first node (
yugabytedb-node1) that is the only node in the US East:docker stop yugabytedb-node1 docker rm yugabytedb-node1 -
Make sure the other two nodes from different regions are still available:
docker exec -it yugabytedb-node2 bin/ysqlsh -h yugabytedb-node2 \
    -c 'select * from yb_servers()'
After a short delay, the output should be as follows:
host | port | num_connections | node_type | cloud | region | zone | public_ip | uuid -----------+------+-----------------+-----------+-------+-------------+---------------+------------+---------------------------------- 172.24.0.4 | 5433 | 0 | primary | gcp | us-west2 | us-west2-a | 172.24.0.4 | 576dbb555c414fa086da1bb4941b5b6f 172.24.0.3 | 5433 | 0 | primary | gcp | us-central1 | us-central1-a | 172.24.0.3 | 27fe17f1876d4ba0ad4891f32f1f50a0 (2 rows) -
Search for movie recommendations one more time using the YugaPlus UI.
Again, select the Comedy genre and ask for movie suggestions:
romantic comedy

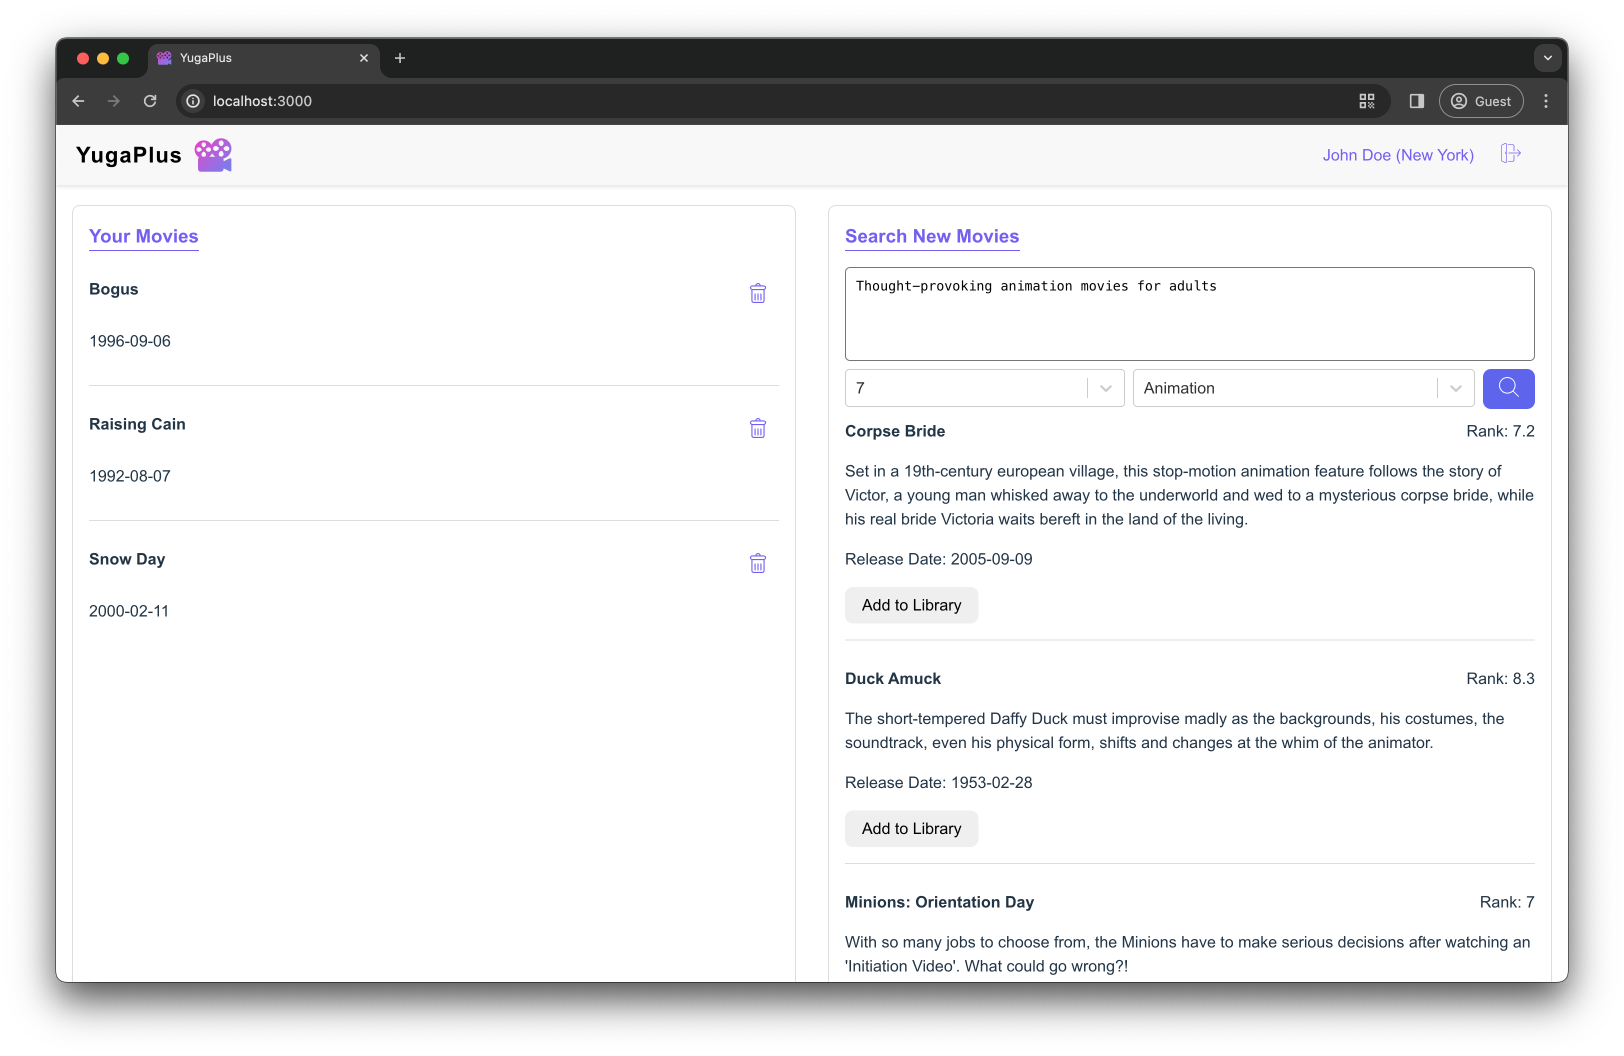
Set the rank to 7, select the Animation genre and ask for recommendations:
Thought-provoking animation movies for adults

This time, the application responds successfully, providing you with another list of movie recommendations. There might be a small delay—a few seconds—in the application's response time. This delay can occur because the database connection pool and smart driver need to detect the outage and recreate the closed connections.
Finally, assuming that the US East region is restored after the outage:
-
Bring the first node back to the cluster:
docker run -d --name yugabytedb-node1 --net yugaplus-network \ -p 15433:15433 -p 5433:5433 \ -v ~/yugabyte-volume/node1:/home/yugabyte/yb_data --restart unless-stopped \ yugabytedb/yugabyte:latest \ bin/yugabyted start --join=yugabytedb-node2 --base_dir=/home/yugabyte/yb_data --background=false \ --cloud_location=gcp.us-east1.us-east1-a \ --fault_tolerance=region -
Make sure the node has joined the cluster:
while ! docker exec -it yugabytedb-node1 postgres/bin/pg_isready -U yugabyte -h yugabytedb-node1; do sleep 1; done

docker exec -it yugabytedb-node1 bin/ysqlsh -h yugabytedb-node1 \
    -c 'select * from yb_servers()'
host | port | num_connections | node_type | cloud | region | zone | public_ip | uuid ------------+------+-----------------+-----------+-------+-------------+---------------+------------+---------------------------------- 172.24.0.4 | 5433 | 0 | primary | gcp | us-west2 | us-west2-a | 172.24.0.4 | f99efabc28a346afab6d009900808216 172.24.0.3 | 5433 | 0 | primary | gcp | us-central1 | us-central1-a | 172.24.0.3 | 6474aa1c252f4bf686bf37b74177face 172.24.0.2 | 5433 | 0 | primary | gcp | us-east1 | us-east1-a | 172.24.0.2 | 66826eb436aa4c23a1e8031fb24fe000 (3 rows)
Congratulations, you've finished Chapter 3! You've learned how to deploy YugabyteDB across multiple cloud regions and other distant locations to withstand various possible outages. Additionally, you practiced using the YugabyteDB Smart driver for automatic failover of database connections.
Moving on to Chapter 4, where you'll learn how to use the latency-optimized geo-partitioning for low-latency reads and writes across all the user locations